Classify Mesh Model
Use to apply IFC or other classifications to surfaces in the mesh. Create and edit templates and map custom fields, for example to IFC to ensure inter-operability in the next stage of your workflow.
- Click Classify Mesh Model
 to open the wizard:
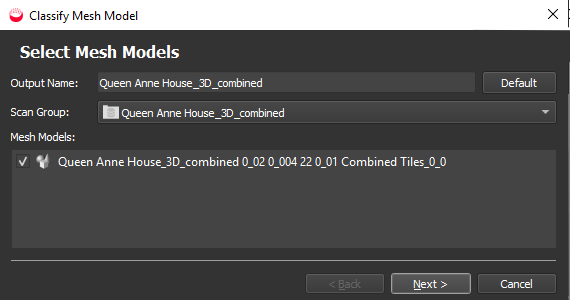
- Click Next:
-
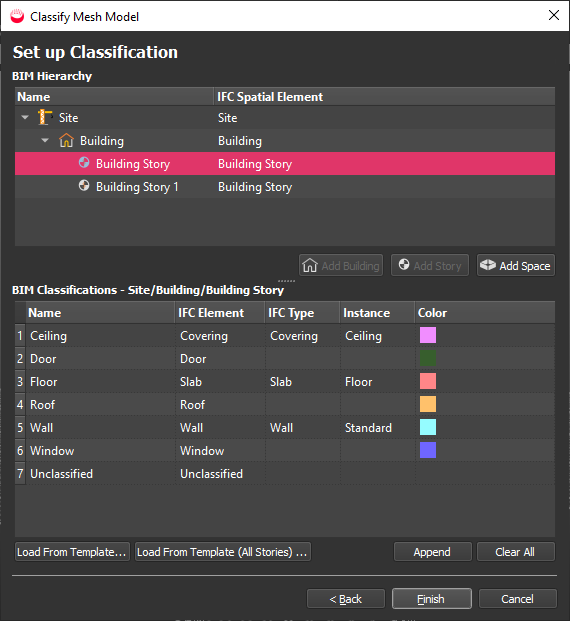
Create the site hierarchy, with one story for each different floor elevation. For example:
- Click a Site and then Add Building.
- Click a Building and select Add Story.
- Click a Story and then Add Space.
- To choose a different classification template, select a story and then select Load from Template.
If you have multiple stories, you can select Load from Template (All Stories).
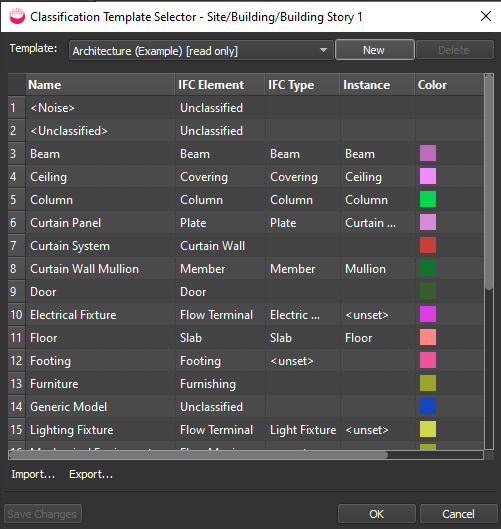
Select from the Templates dropdown:
-
Optionally create or edit templates:
- Click New to create a new template.
- Click in fields to change values.
- Click Append to add a row and define a new classification element.
- Click Clear All to delete all rows.
- Right click and use the context menu to Insert Above or Insert Below the current row, and to Delete Selected row.
You can also Import and Export classification templates in the same was as the Preferences tab. See Preferences - Classification Templates Tab for details.
- Click OK to return to the main wizard.
- In the main wizard, you can edit the BIM classifications in the lower part, as in the Template Selector dialog.
- Click Finish.
- Click File > Save All.
Apply New or Additional Classification Templates to a Classified Model
If after performing classification you realise that you actually require a new or different classification template, you can apply one at this point.
-
Right click on item in classification heirarchy and select Apply Template...
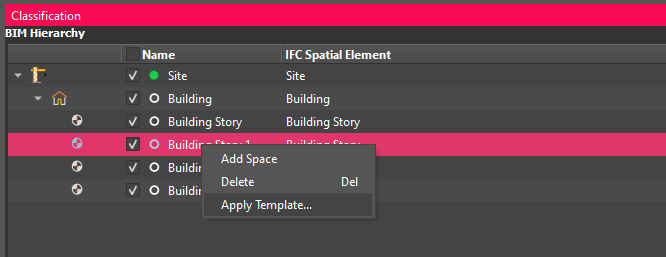
-
Choose a new or additional template.
-
The new classification layers will be merged with any existing layers. Any existing classification will be preserved. The only changes are to add new layers which did not exist before.